
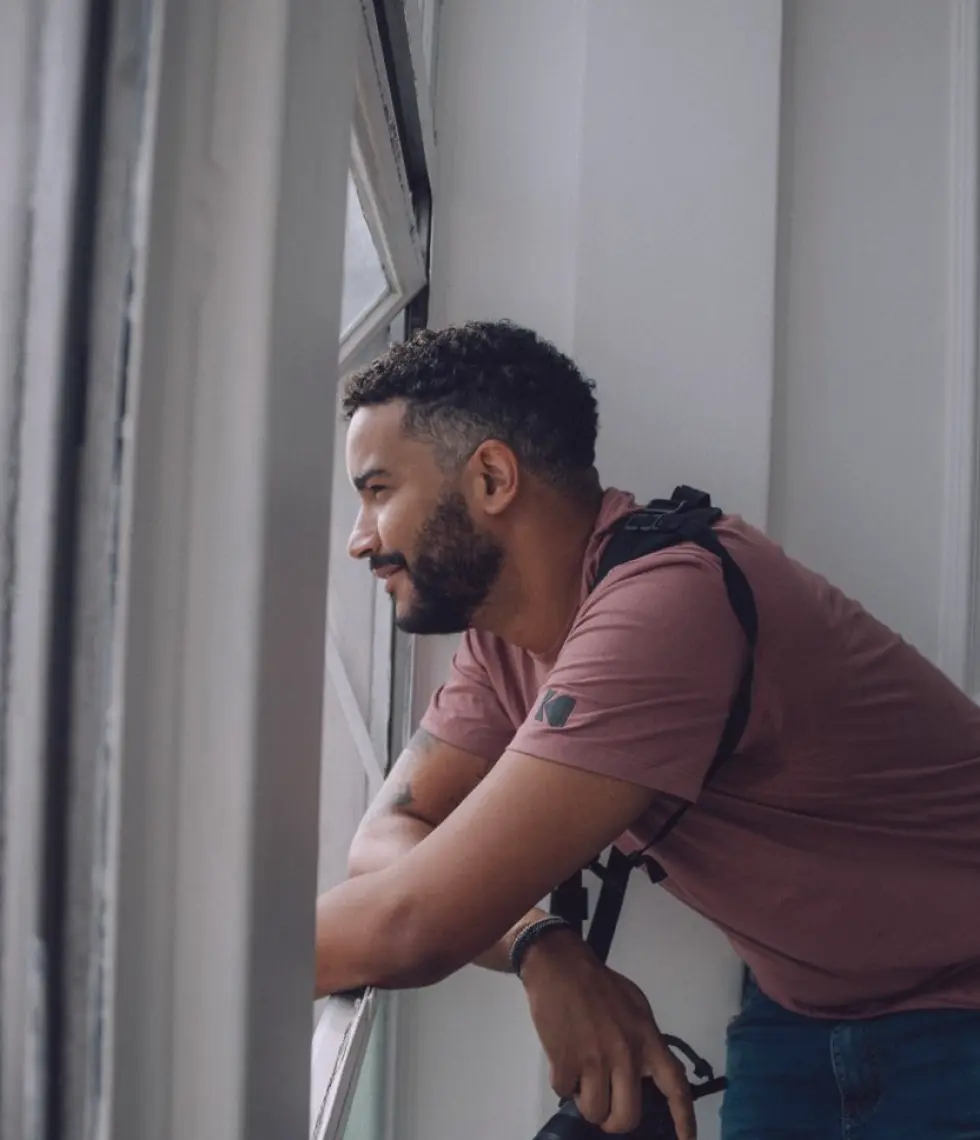
Start with ten minutes of looking
The most useful habit I know costs nothing: arrive, put the camera away, and look. In these autumn weeks the light is lower and warmer for most of the day, and it changes quickly. Stand where you will be working and notice where the brightest patch falls, where the shadows go soft, and how long it takes for a cloud to change both. Watch how people move through the space before you decide where to stand.
Documentary work rewards patience over speed. Ten minutes of simple observation tells you which window will keep giving good light, which corner people drift toward, and which chair belongs to someone who will not want to be moved. You are collecting information, and you are also being seen. People relax around someone who is clearly paying attention rather than hunting for a picture.
- Note the main light source and where it will be in an hour
- Find the places people naturally stop or gather
- Keep the camera down until the room has stopped noticing you
Read the light in three questions
I ask the same three questions in every place. Where is the light coming from? How hard is it? What is it doing to the faces and surfaces I care about? Window light from the side gives gentle shape to a face. Light from behind a subject can turn a figure into an outline, which is sometimes exactly right and sometimes a loss of the person.
Hard light, such as low sun through a gap in buildings, makes strong shadows and strong moods, but it asks you to place people carefully. Soft light, such as an overcast afternoon on a porch, forgives almost everything and lets you work longer. Neither is better. The point is to know which one you have, so you choose your frame on purpose instead of accepting whatever the camera suggests.
- Direction: side, front, back or overhead
- Quality: hard edges or soft falloff
- Effect: what it reveals and what it hides
Frame with the scene, not just the subject
A strong documentary frame usually holds more than a face. It holds the kettle behind the person, the hand-lettered sign on the wall, the coat on the hook. These details tell a reader where they are and who lives or works there. Before raising the camera, decide what the picture needs to say and which two or three elements support it.
Then check the edges. Most weak frames fail at the borders: a stray bag, a cut-off elbow, a bright window pulling the eye away. Take one step left or right, crouch a little, and look again. Small moves change a snapshot into a composed image without making it look arranged. If you are unsure, shoot the wider version first and move closer once you know what matters.
- Choose one main subject and two supporting details
- Scan all four edges before pressing the shutter
- Take a wide frame, then a closer one
Earn trust in the way you ask
Light and framing mean little if the person in front of you feels used. Introduce yourself plainly, say what the pictures are for, and explain where they might appear. Offer to show people what you have taken. Many readers of a magazine like ours assume photographers simply take; in practice the best pictures come from being given something.
Ask before photographing children, interiors and anything private, and accept a no without argument. A refusal at the start often turns into an invitation later, once someone has seen that you keep your word. Keep conversation ordinary. Talk about the weather, the neighbourhood, the thing they are doing. When people stop performing for the camera, you are finally photographing them.
- Say who you are, what the work is for and where it may appear
- Offer to share the pictures afterward
- Treat a no as a complete answer
Work slowly, then stay longer
Plan on a visit that is longer than feels necessary. The first half hour usually produces polite pictures; the useful ones tend to arrive when everyone has forgotten the camera. Settle into one spot, let things happen in front of you, and resist the urge to chase. If a doorway has good light, wait there and let the story walk in.
Keep your gear simple. One camera and one lens, kept ready, will serve you better than a bag of options that lets you fiddle while the moment passes. Check your exposure on a typical scene early, then trust it and keep your eyes on people. A small notebook helps: names, a few phrases, what was on the stove. Captions begin there.
- Stay past the point where it feels awkward
- Use one lens and keep it ready
- Jot down names and details for captions
Review what you made, honestly
When you get home, resist deleting quickly. Look at the whole set first, then pick frames that show the place accurately and treat the person fairly, not only the most dramatic ones. Ask whether a stranger would understand the scene from the picture and a short caption alone.
Keep a few of the quiet frames, the ones that show the room, a pair of hands, a window. They often carry a story better than the portrait does. Note what worked in the light and what you would do differently next visit, and write it down. A short habit of reviewing after each visit improves your eye faster than any new piece of equipment.
- View the whole set before choosing
- Keep quiet context frames, not just portraits
- Write down one thing to try next time
None of this requires special equipment, only attention and a willingness to be slow. Read the light, choose what belongs in the frame, ask permission, and stay long enough for people to forget you are there. Try it on one familiar place this month, such as a neighbour's kitchen or a local market, and compare the first pictures you take with the last. The difference is usually in the patience, not the camera.